2.1 模块开发
Koupleless 快速开始
本上手指南主要介绍动态合并部署模式,用于省资源与提高研发效率。如果你只是想节省资源,可以使用静态合并部署。本上手指南使用官网的 tomacat sample 进行演示: 1.
预先准备
研发工具
代码下载
git clone git@github.com:koupleless/samples.git
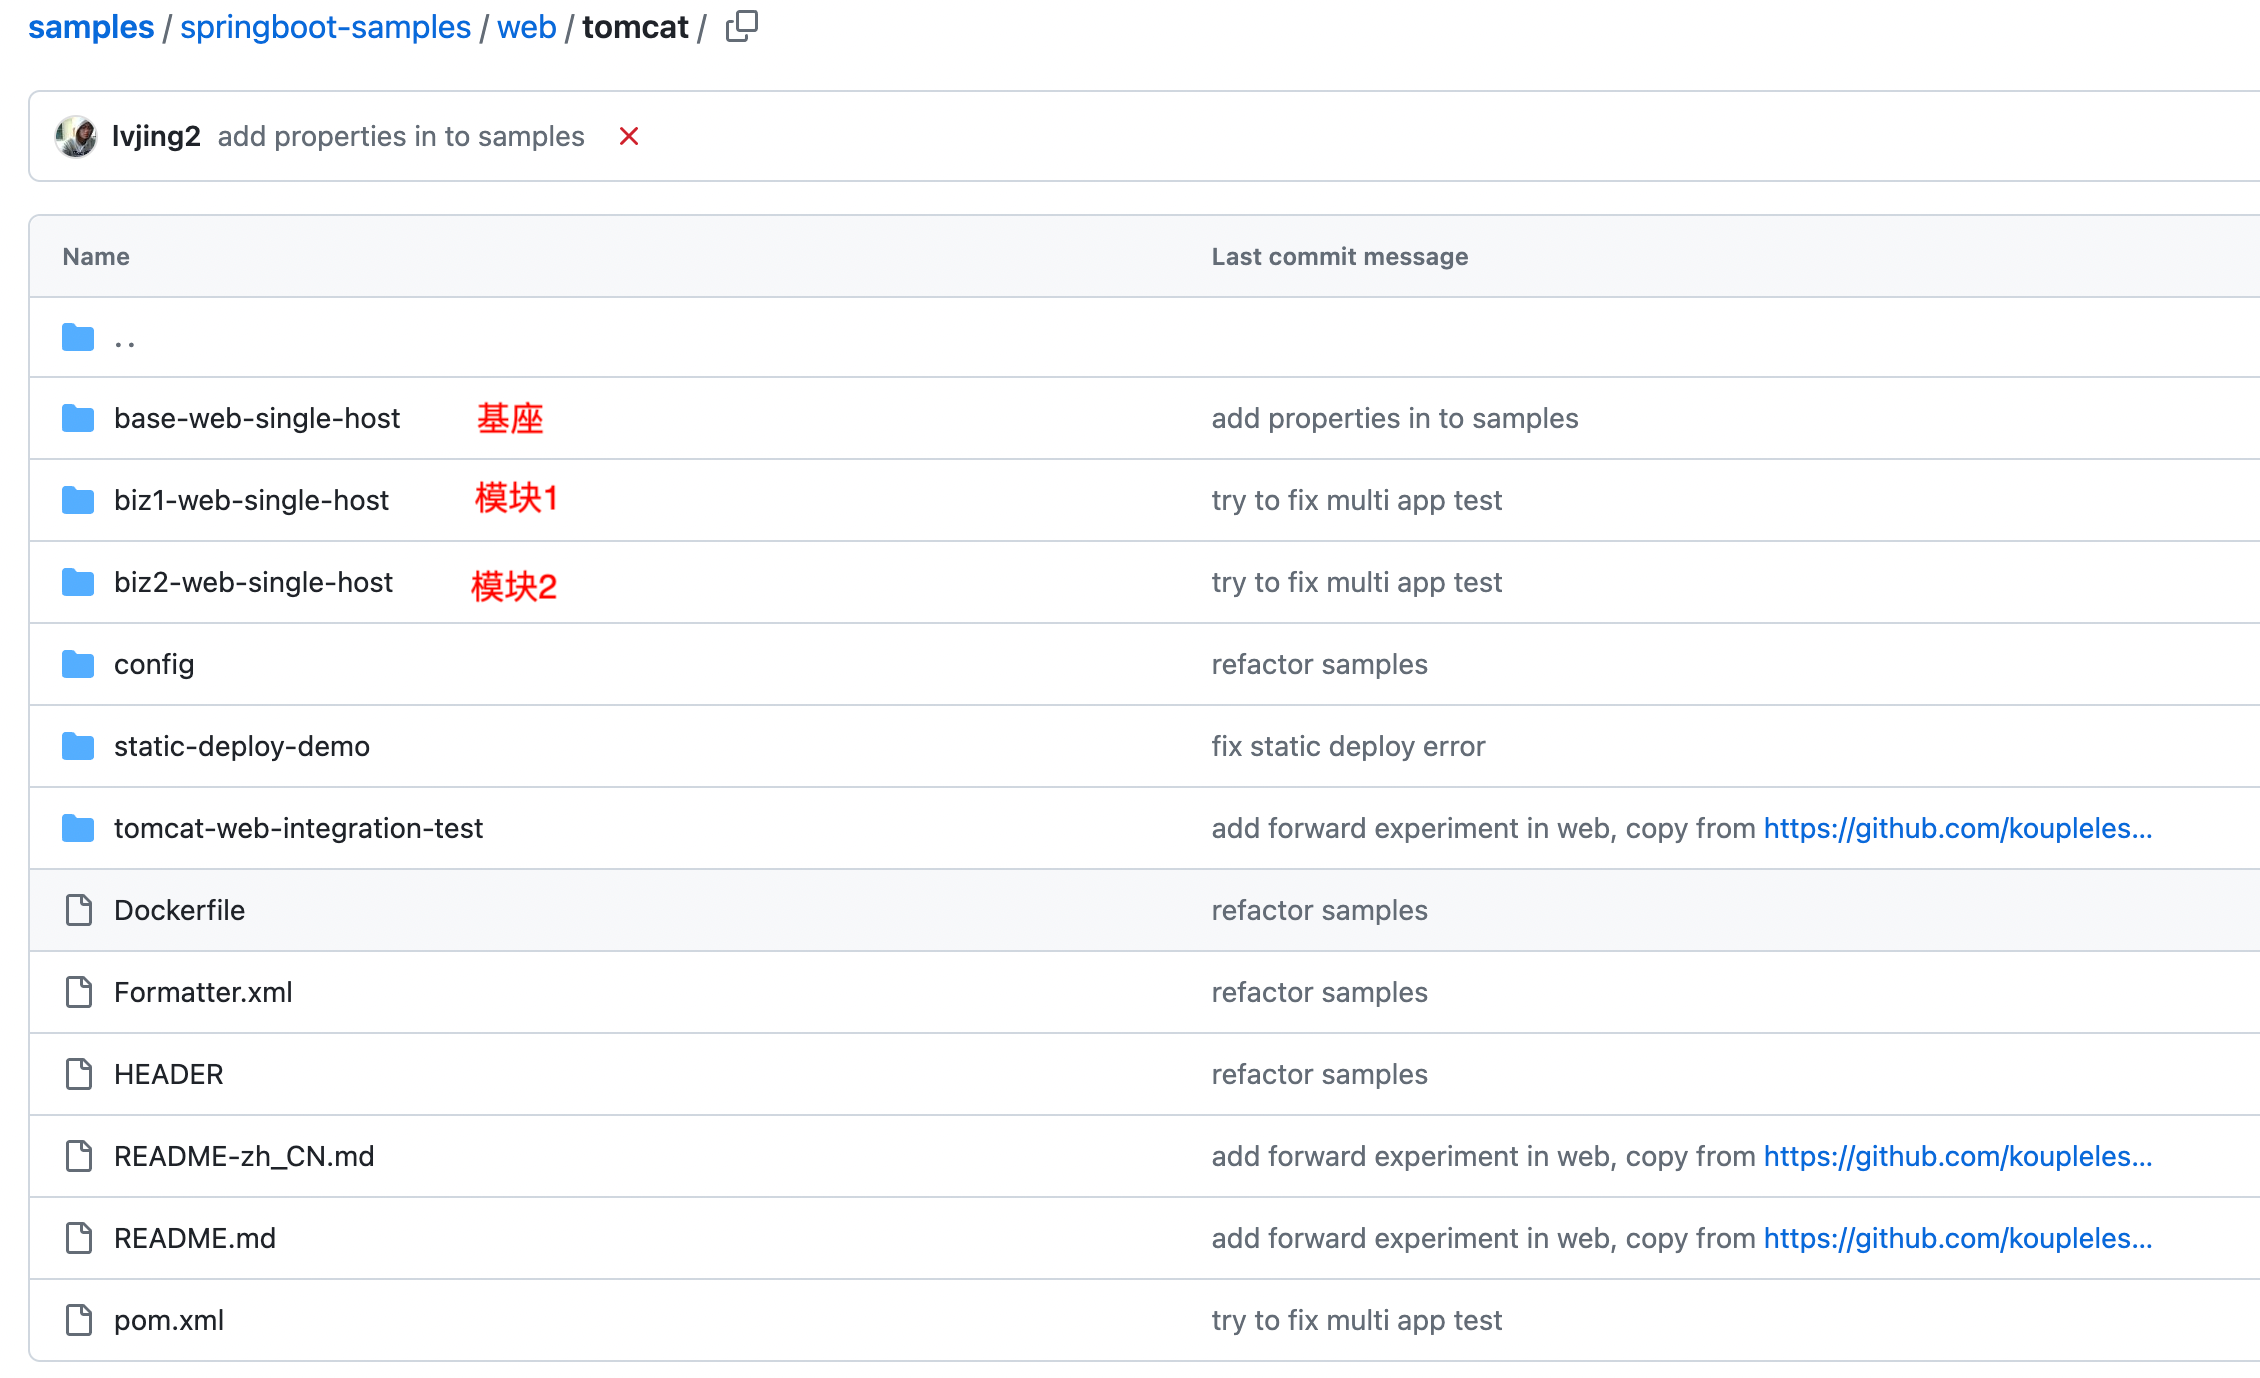
这个仓库包含了多个框架的 samples,基座和模块都在同一个代码仓库里,如图所示

导入 springboot-samples 工程到编译器
- 导入 springboot-samples,有两种方式导入工程到编译器
- 方式一:导入 samples 到编译器,然后选择 springboot-samples 子目录的 pom 为 maven 工程
- 方式二:直接导入 springboot-samples 到编译器,此时自动将 springboot-samples 导入为 maven 工程
- 执行如下命令构建 springboot-samples/web/tomcat 基座与两个模块
mvn -pl web/tomcat/biz1-web-single-host,web/tomcat/biz2-web-single-host -am clean package -DskipTests
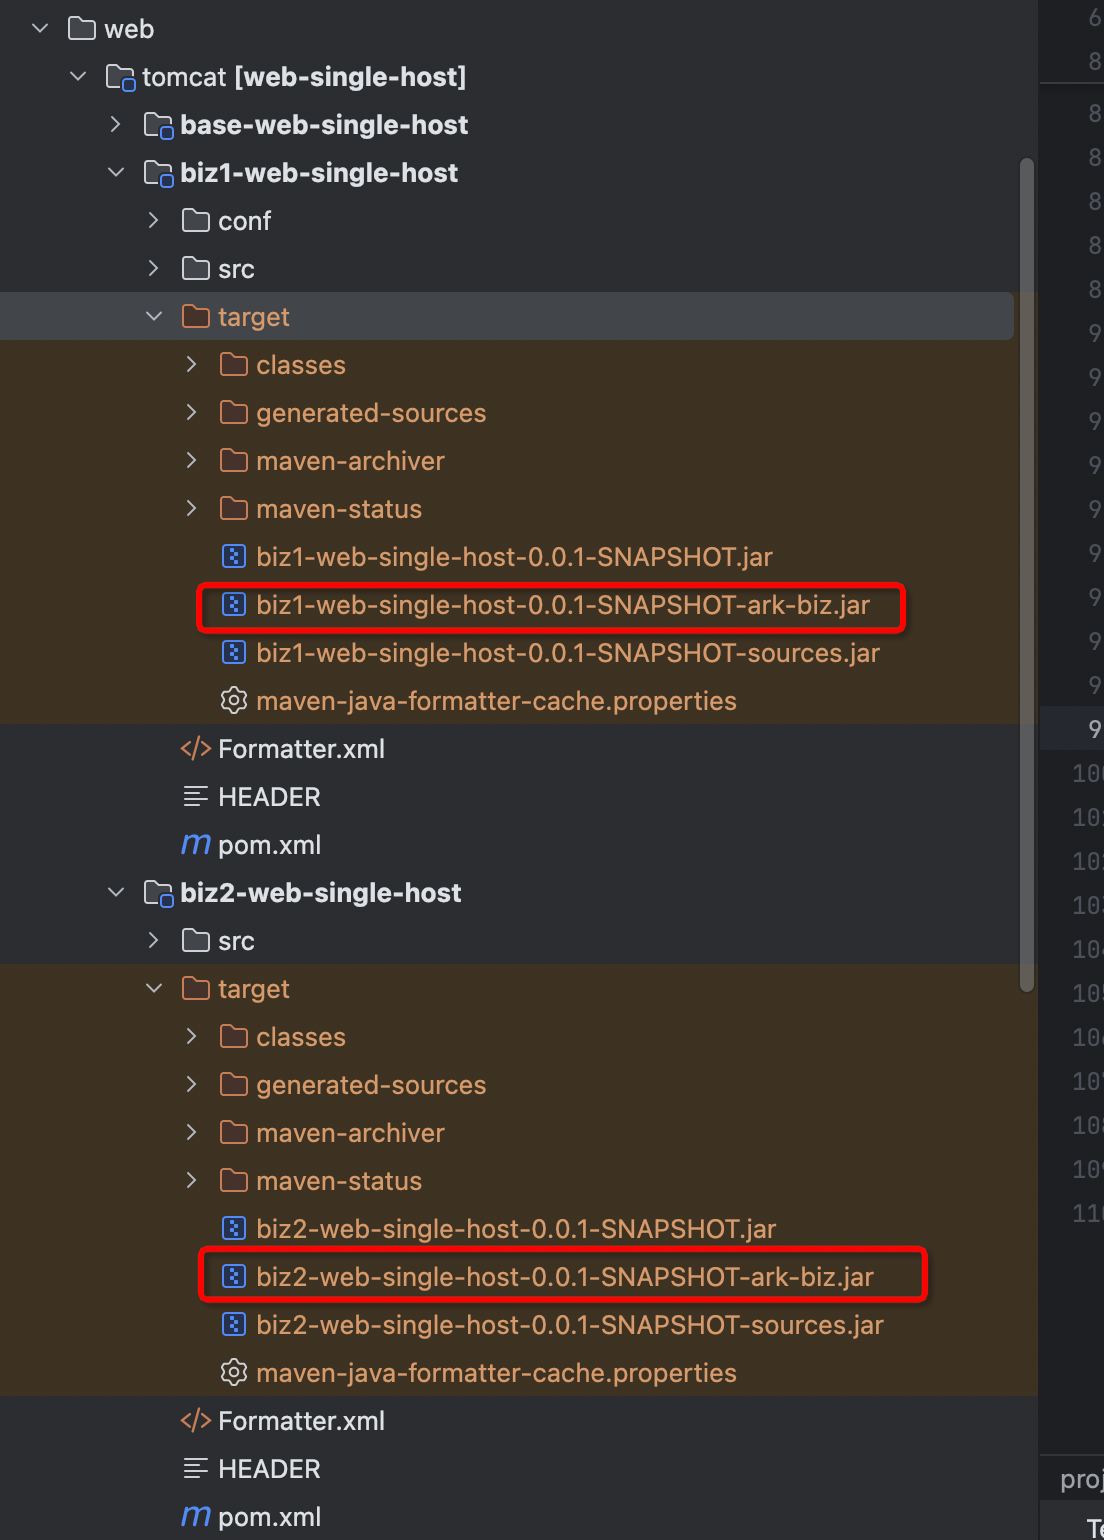
如果构建失败,请检查 maven 版本是否 >= 3.9.x(可将公共 bundle 自动 install),构建完之后可以看到模块打出的模块 jar 包

本地环境启动验证
- 启动基座,按照普通应用启动即可
- 安装模块1
arkctl deploy /xxx/path/to/biz1-web-single-host/target/biz1-web-single-host-0.0.1-SNAPSHOT-ark-biz.jar
- 安装模块2
arkctl deploy /xxx/path/to/biz2-web-single-host/target/biz2-web-single-host-0.0.1-SNAPSHOT-ark-biz.jar
- 测试验证
curl http://localhost:8080/biz1/
执行 curl 命令返回 hello to /biz1 deploy
curl http://localhost:8080/biz2/
执行 curl 命令返回 hello to /biz2 deploy
更多实验请查看 samples 用例
Feedback
Was this page helpful?
Welcome propose feedback to community!
Welcome propose feedback to community, or improve this document directly.。